Building Your Own 8x12 Shed: A Comprehensive Guide
Constructing a shed provides valuable storage space and enhances property aesthetics. This comprehensive guide details the process of building an 8x12 shed, encompassing planning, material acquisition, and step-by-step construction. Careful adherence to these plans ensures a structurally sound and aesthetically pleasing addition to your property.
I. Planning and Preparation
A. Site Selection and Preparation
Choosing the appropriate location is paramount. Consider factors such as accessibility, proximity to utilities, sunlight exposure, and adherence to local building codes and regulations. Ensure the ground is level; significant sloping requires excavation and leveling. Mark the shed's perimeter with stakes and string to guide the foundation construction.
B. Permitting and Inspections
Before commencing construction, contact your local building department to determine if permits are required and to understand any specific regulations regarding shed construction in your area. This may involve submitting plans and undergoing inspections at various stages of the build. Failing to obtain necessary permits can result in fines or even demolition orders.
C. Material Acquisition
Accurate material estimation is crucial for a smooth construction process. The following provides a comprehensive list, though adjustments might be necessary based on individual design choices and local availability:
- Pressure-treated lumber: 4x4 posts for the foundation (8), 2x6 for the floor joists (14), 2x4 for wall studs (approximately 40), 2x6 for the rafters (8), 2x4 for the roof supports (various lengths).
- Plywood: For the floor (1-2 sheets of ¾†plywood), for sheathing the walls and roof (several sheets of ½†plywood or OSB).
- Roofing material: Asphalt shingles, metal roofing, or other suitable roofing material, ensuring sufficient quantity for the 8x12 roof area.
- Exterior siding: Choose a material that suits your aesthetic preferences and budget. Options include vinyl siding, wood siding, or metal siding. Calculate the necessary quantity based on the shed's dimensions.
- Fasteners: An assortment of nails, screws, and other fasteners, including galvanized exterior-grade screws for increased durability.
- Concrete: For a concrete foundation or pier blocks, calculate the amount needed based on your chosen foundation type.
- Hardware: Door hinges, door handle, window hardware (if applicable), and any other necessary hardware.
- Other materials: House wrap, flashing, sealant, paint or stain (optional), and any additional materials required for your chosen design features.
II. Foundation Construction
A. Concrete Slab Foundation
This method offers excellent stability. Excavate the area to a depth suitable for your local frost line, typically 6-12 inches. Create a level base using compacted gravel. Construct forms, ensuring they are plumb and level. Pour and finish the concrete according to manufacturer instructions, allowing ample curing time.
B. Pier Block Foundation
A cost-effective alternative, this involves setting concrete pier blocks at regular intervals to support the floor joists. Excavate holes, set the blocks level, and backfill around them. Ensure the blocks are level and provide sufficient support for the weight of the shed.
C. Other Foundation Options
Other foundation options exist, including gravel bases and treated lumber sleepers. The choice depends on budget, site conditions, and local building codes. Consult local building codes for permissible foundation types in your area.
III. Framing the Shed
A. Floor Framing
Lay the floor joists on the foundation, ensuring they are evenly spaced (typically 16 inches on center) and securely fastened. Install blocking for added strength and stability. Then, attach the plywood subflooring, ensuring proper alignment and fastening.
B. Wall Framing
Construct the wall frames on a flat surface, ensuring plumbness and squareness. Use 2x4 studs spaced 16 inches on center. Install top and bottom plates, and brace the frames for stability during construction. Then, erect the walls, securing them to the floor framing and each other.
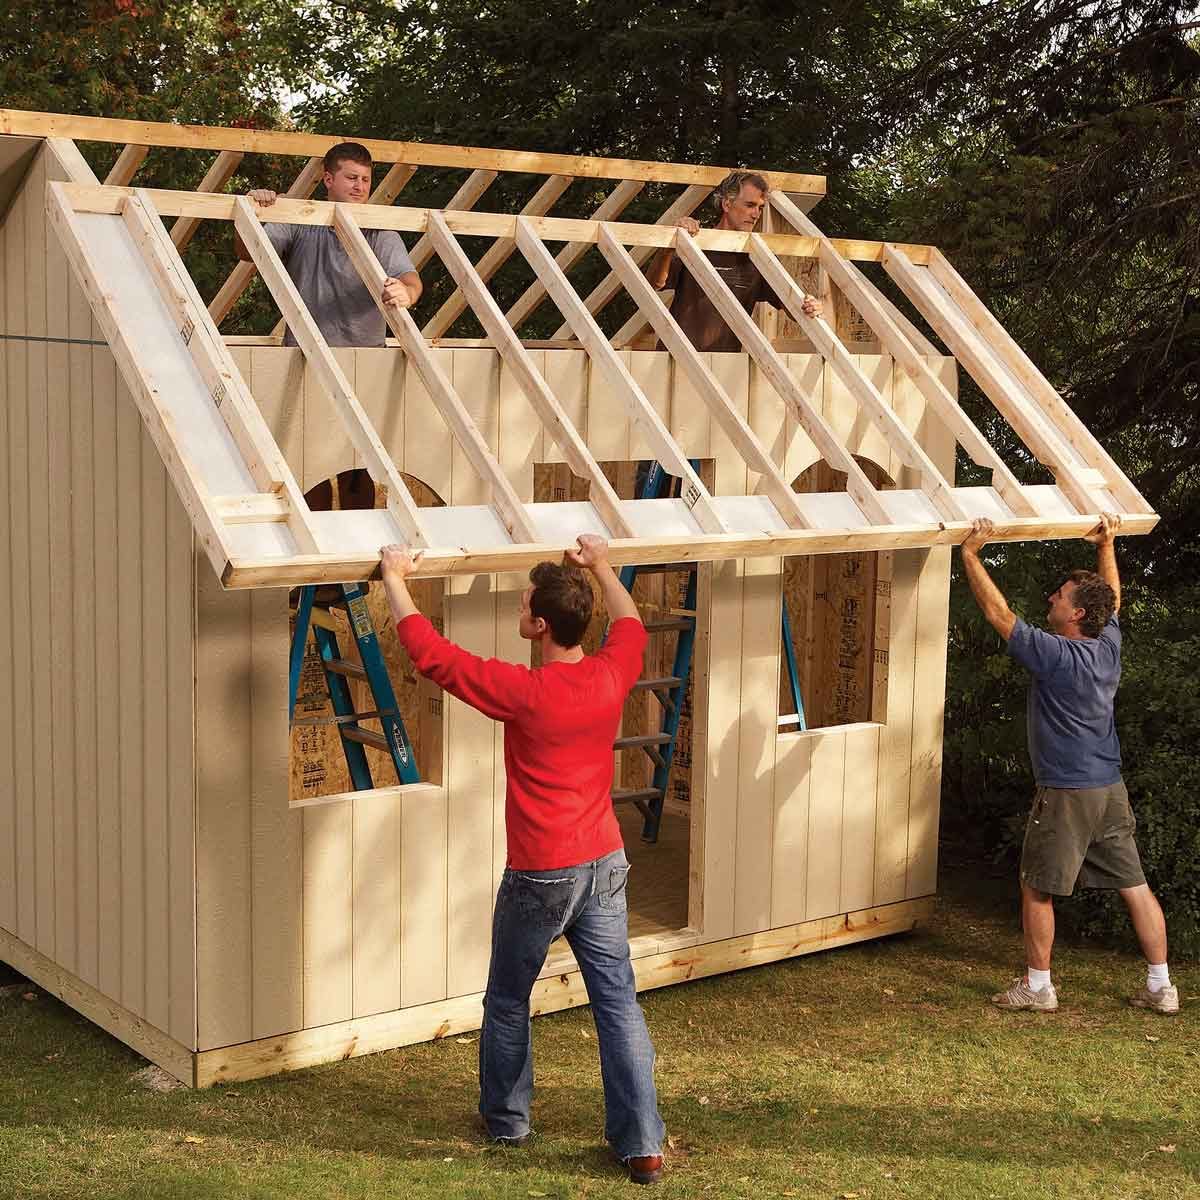
C. Roof Framing
Construct the roof trusses or rafters, depending on your chosen design. Ensure proper spacing and secure fastening. Install the roof sheathing, making sure it is aligned and securely attached. Consider adding extra bracing for stability, especially in areas prone to high winds.
IV. Exterior Finishing and Roofing
A. Sheathing and Siding
Install house wrap over the wall framing to provide a moisture barrier. Then, apply the chosen exterior siding according to the manufacturer's instructions. Ensure proper overlap and secure fastening for a weathertight seal.
B. Roofing Installation
Install the chosen roofing material, following the manufacturer's instructions carefully. Ensure proper overlap and sealing to prevent leaks. Consider adding ridge vents for better ventilation and to prevent moisture buildup.
C. Door and Window Installation
Install the door and windows, ensuring proper alignment and secure fastening. Use appropriate weatherstripping and sealant to prevent drafts and leaks. Adjust the hardware as needed for smooth operation.
V. Interior Finishing
This stage involves finishing the interior, which may include adding shelving, painting or staining the interior walls, and installing lighting. This is customizable to your needs and preferences.
VI. Final Inspection and Cleanup
Once construction is complete, schedule a final inspection with your local building department (if required). After the inspection is approved, clean up the construction site, removing all debris and materials. Enjoy your new shed!
Disclaimer: This guide provides general instructions. Always consult local building codes and regulations. Seek professional assistance if needed. Safety should be your priority throughout the entire building process.
0 comments:
Post a Comment
Note: Only a member of this blog may post a comment.