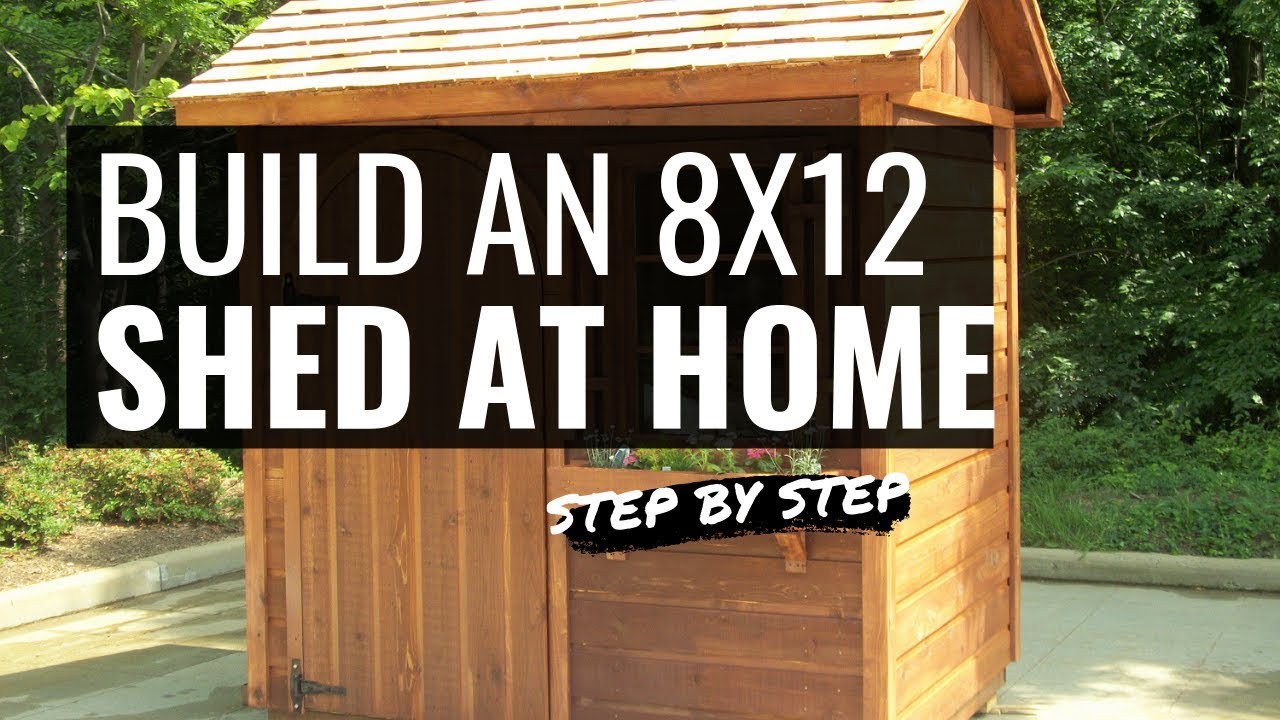
Building Your Dream 8x12 Shed: An Affordable and Easy Guide
The allure of a brand-new shed is undeniable. Imagine finally having a dedicated space for your tools, gardening supplies, or even a cozy hobby workshop. But the thought of building one yourself might seem daunting. Fear not! This guide breaks down the process of constructing an 8x12 shed into manageable steps, emphasizing affordability and simplicity. We'll walk you through each stage, ensuring you have the confidence to tackle this rewarding project.
Planning and Preparation: Laying the Foundation for Success
Before you even touch a tool, meticulous planning is paramount. Start by securing the necessary permits from your local authorities. This crucial step ensures you’re building within regulations and avoids potential future complications. Next, choose a suitable location on your property. Consider factors like access for delivery trucks, sunlight exposure, and proximity to utilities. Level the ground thoroughly â€" a perfectly flat base is critical for a sturdy shed. Use landscaping fabric to prevent weed growth underneath your shed. You can then create a level base by compacting gravel or using concrete pavers to create a solid foundation.
Essential Materials: A Detailed Shopping List
Creating a detailed materials list is key to staying on budget and avoiding last-minute trips to the hardware store. This list should include pressure-treated lumber for the foundation, framing, and siding, roofing materials (shingles or metal), fasteners (screws and nails), and any necessary hardware like hinges and a latch for the door. Don’t forget about the concrete or pavers for your foundation. Consider purchasing pre-cut lumber to save time and effort. Comparing prices from different suppliers will help you find the best deals.
Construction: Building the Shed Frame and Walls
With your foundation secure and materials at hand, construction can begin! First, assemble the floor frame. This forms the base of your shed, and its precision is vital. Use pressure-treated lumber to create a robust and long-lasting frame. Ensure all corners are square and securely fastened. Next, erect the walls. Building each wall separately on the ground makes the process easier. Once complete, carefully lift and attach the walls to the floor frame, ensuring they are plumb and aligned. Bracing the walls is crucial for structural integrity, preventing warping and ensuring stability. Finally, add the roof supports and rafters, creating the framework for your shed's roof.
Essential Tools for the Job
Gather your essential tools before you start. You'll need:
- Measuring tape
- Level
- Saw (circular saw or hand saw)
- Drill with various drill bits
- Hammer
- Screwdriver
- Shovel
- Post hole digger (if using posts for a foundation)
Finishing Touches: Roofing, Siding, and the Finishing Details
With the shed’s frame complete, it’s time for the finishing touches. Start by installing the roofing material â€" shingles or metal roofing are both popular choices. Carefully follow the manufacturer's instructions for proper installation. Next, add the siding, ensuring a neat and weatherproof finish. Consider using materials that complement the style of your home. Finally, install the door and windows, adding a touch of functionality and aesthetics. A fresh coat of paint or stain will not only protect your shed from the elements but also enhance its curb appeal.
Maintaining Your New Shed: Ensuring Longevity
Regular maintenance is key to extending the life of your shed. Inspect it periodically for any signs of damage or wear. Re-apply paint or stain as needed to protect the wood from moisture and pests. Keep the area around the shed clear of debris to prevent moisture buildup. With proper care, your 8x12 shed will provide years of reliable storage and enjoyment.
Building your own shed is a rewarding experience that saves you money and allows you to customize it to your specific needs. By following these steps and exercising patience, you'll soon enjoy the benefits of your new, functional outdoor space.
0 comments:
Post a Comment
Note: Only a member of this blog may post a comment.