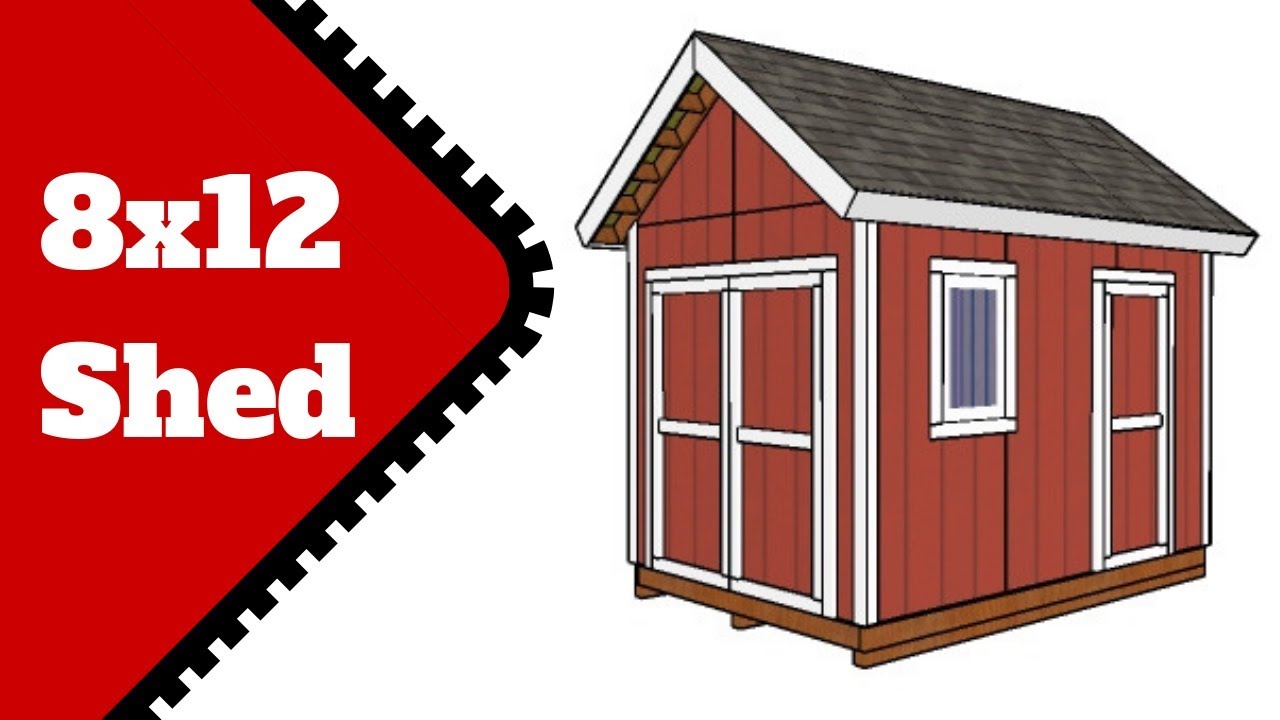
How to Build an 8x12 Shed: Simple Plans for Practical Storage
Constructing a shed offers a practical solution for addressing storage needs. This comprehensive guide provides detailed instructions for building an 8x12 shed, focusing on simplicity and functionality. While professional assistance is always recommended for complex projects, this plan aims to empower DIY enthusiasts with the necessary knowledge to undertake this endeavor. This guide assumes a basic understanding of carpentry and tool usage. Safety precautions should be rigorously followed throughout the entire construction process.
I. Planning and Preparation
Before commencing construction, thorough planning is paramount. This phase involves several critical steps that will lay the foundation for a successful project.
A. Site Selection and Preparation
Choose a level, stable location for your shed. Consider proximity to utilities, access for delivery of materials, and potential drainage issues. Clear the area of vegetation, debris, and any obstructions. Verify local building codes and obtain any necessary permits before starting construction. Accurate measurements of the site are essential to ensure the shed's proper placement.
B. Material Acquisition
Creating a detailed materials list is crucial to avoid delays. This list should include:
- Pressure-treated lumber for the foundation and framing (4x4 posts, 2x4s, 2x6s)
- Plywood or OSB sheathing for the walls and roof
- Roofing material (asphalt shingles, metal roofing, etc.)
- Siding (vinyl, wood, metal, etc.)
- Door and window units
- Fasteners (nails, screws, bolts)
- Concrete (for the foundation, if required)
- Protective wear (safety glasses, gloves, work boots)
Purchase high-quality materials to ensure the longevity and structural integrity of your shed. Consider purchasing slightly more material than your calculations indicate to account for potential waste or errors.
C. Tool Acquisition and Preparation
Gather the necessary tools before beginning construction. A comprehensive toolkit will include:
- Measuring tape
- Level
- Post hole digger (or auger)
- Shovel
- Hammer
- Drill with various drill bits
- Circular saw
- Safety Glasses
- Hearing Protection
- Work Gloves
- Speed Square
- Tape measure
Ensure all tools are in good working order and that you are familiar with their safe operation. This will enhance efficiency and minimize the risk of injury.
II. Foundation Construction
A solid foundation is critical for the stability and longevity of your shed. The choice of foundation depends on factors like soil conditions and local building codes. For this plan, we will outline a concrete pier foundation, a relatively straightforward option.
A. Pier Placement
Dig holes for the concrete piers at each corner and at intervals along the perimeter walls (approximately every 6 feet). The depth of the holes will depend on your local frost line and soil conditions. Consult local building codes for specific requirements. Ensure the holes are plumb and of uniform depth.
B. Concrete Pouring
Place gravel or crushed stone in the bottom of each hole for drainage. Then, pour concrete into the holes, ensuring it reaches the desired level. Allow the concrete to cure completely (typically 24-48 hours) before proceeding.
C. Anchor Bolts (Optional)
For added security, you can install anchor bolts in the wet concrete before it sets. These bolts will provide a secure connection point for the base plates of your frame.
III. Framing the Shed
The framing process involves constructing the floor, walls, and roof. Precision and accuracy are vital at this stage to ensure the structural integrity of the shed.
A. Floor Framing
Build a frame for the floor using pressure-treated lumber. Attach the frame to the concrete piers using appropriate fasteners. Install floor joists across the frame, spaced according to building codes. Then, cover the floor joists with plywood or OSB sheathing.
B. Wall Framing
Construct the wall frames on the ground for easier assembly. Use 2x4s or 2x6s for the studs, spaced 16 inches or 24 inches on center. Ensure the wall frames are plumb and square before raising them and securing them to the floor frame. Install any windows and doors at this stage.
C. Roof Framing
Construct the roof trusses or rafters. The design of your roof (gable, shed, etc.) will dictate the specific framing techniques required. Raise and secure the roof frame to the top plates of the wall frames. Install sheathing to the roof frame. This will provide a solid base for your roofing material.
IV. Exterior Finishing
The exterior finishing phase involves adding siding, roofing, and other exterior elements to protect the shed from the elements.
A. Roofing Installation
Install your chosen roofing material (asphalt shingles, metal roofing, etc.) according to the manufacturer's instructions. Ensure proper ventilation to prevent moisture buildup.
B. Siding Installation
Apply siding over the sheathing on the walls. Follow the manufacturer's instructions for installation. Ensure the siding is properly sealed to protect the structure from moisture.
C. Door and Window Installation
Install the door and window units, ensuring proper sealing and weatherproofing.
V. Interior Finishing (Optional)
Interior finishing is optional but can enhance the shed's functionality and appearance.
A. Interior Walls
Install drywall or paneling on the interior walls. This will provide a finished look and protect the structure.
B. Flooring
Install a suitable flooring material, such as plywood, vinyl, or epoxy.
VI. Final Inspection and Cleanup
After completing construction, conduct a thorough inspection to ensure all components are properly secured and functioning correctly. Address any necessary repairs or adjustments before considering the project complete. Clean up the construction site, removing all debris and leftover materials.
Disclaimer: This guide provides general information and should not be considered professional building advice. Always consult local building codes and seek professional assistance if necessary. Improper construction techniques can lead to structural damage and injury. Safety should always be the top priority during construction.
0 comments:
Post a Comment
Note: Only a member of this blog may post a comment.